In a world full of computers, there are hundreds of implementations of the same tool. When it comes to Linux, as it is an open-source project thousand of tools has been made just to do one thing.
Today the topic is the kernel. A mandatory concept of computers. In this article let me introduce what a kernel is and what kind of kernels you can use in Linux. Also, we will play with the kernel.
NOTE: Before you proceed further read my last article about an introduction to kernel and its types.
What is Linux?
For years there's been a debate on this question. However, this is what GNU says.
Linux is the kernel: the program in the system that allocates the machine's resources to the other programs that you run.

Well, then what Linux kernel you're currently using? To find that out the uname command can be used. uname -srm The following is my daily driver.

Alternatives to the Linux kernel
As I mentioned at the beginning of the article, there are numerous implementations of the same concept. In terms of kernel, there are an untold number of kernels. The following four are the officially supported kernels.
1. Stable
As the name suggests this kernel is stable. It is regularly being updated and new patches are released often. Most Linux users use the stable kernel.
You can install it with the package manager; pacman -S linux
Here is the directory tree in case u need it.
2. Zen
This can be introduced as the best kernel for the day-to-day system. It is included features that are not included in the mainline(stable) Linux kernel. Zen kernel also supports the latest hardware. If you use Linux as your daily driver, giving Zen kernel a try is worth it.
pacman -S linux-zen would install this kernel on your system.
Find the source here.
3. Longterm
The Long Term Support or LTS kernel can be considered more stable than the conventional Linux kernel. However, this Kernel is lack of latest features of the Linux kernel.
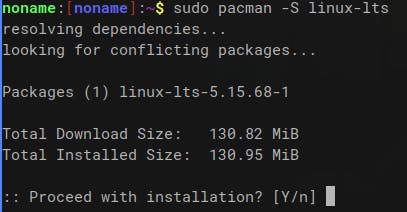
In the package manager, it's named as linux-lts. You can install it as follows pacman -S linux-lts
The source code for LTS kernel also resides at https://www.kernel.org/.
4. Hardened
A kernel that is focused on security. This has hardening patches and security-oriented configurations for the kernel. Yet, this is very hard to use as it doesn't allow you to run executables.
To install hardened kernel use pacman -S linux-hardened.
Here is the source code for the hardened Linux kernel.
To figure out what kernel you're currently using, try uname -r command. Following is my daily driver.

Install a Kernel
For testing purposes, I use Artix Linux(It's the only lightweight distribution with a fast installation process I could find, besides it's systemd-free). And you can use whatever you want.

Before doing anything you need to decide what kernel you need. Once you figured it out, you can proceed.
The kernel can be installed via the package manager. You can also compile the kernel and install it, but I don't want to talk about that here as it's way too complicated.
Artix also uses pacman, so...

Now you have the kernel installed. However as the grub (or whatever your bootloader is) need to know that you have a new kernel. Because it's the one who spawns the kernel, right? (more about the boot process can be found here).
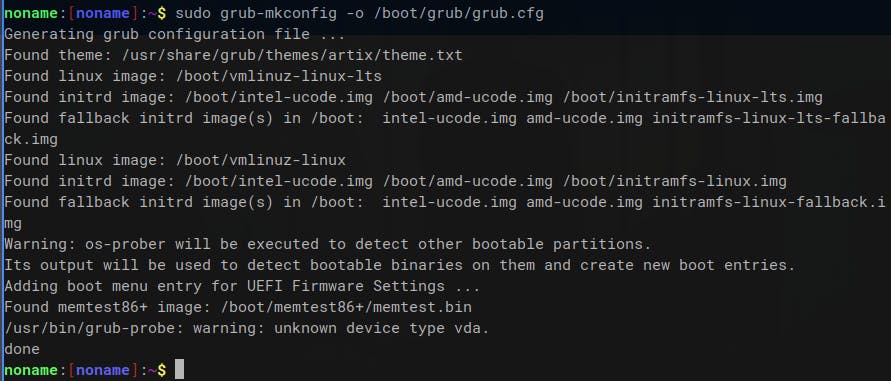
To inform grub that we have installed a new kernel, we have to regenerate the grub config file. The following command will do it.
sudo grub-mkconfig -o /boot/grub/grub.cfg
See...It's that easy.

Then reboot the system to get the configuration working.
Once booted, in the GRUB go to the Advance options of the welcome menu.
NOTE: I haven't used another boot-manager, therefore can't tell how it works on others. Just google what you want.

There you will find your freshly installed kernel. Press Enter and start using the system with your new kernel.

Delete a Kernel
Well running a system without a kernel is far beyond the imagination. Yet, Linux let you do anything. Therefore I would like to teach you how to delete a kernel.

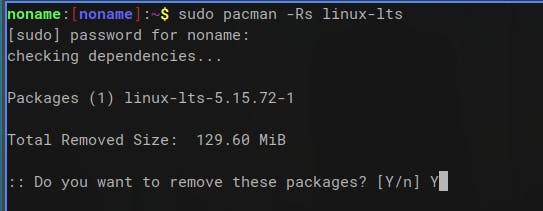
You get the kernel from the package manager, So delete it from there first.
ex:
sudo pacman -Rs linux-lts

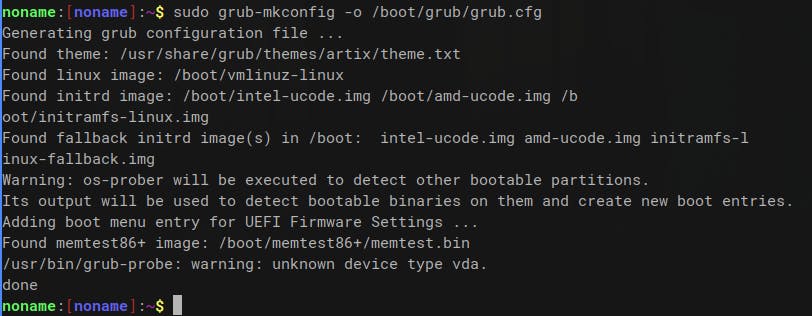
Regenerate the grub configuration file
sudo grub-mkconfig -o /boot/grub/grub.cfg

- Then reboot
Conclusion
Thank you for reading! If you haven't subscribed to the newsletter, DO IT IMMEDIATELY! Then you would find my latest article in your inbox. If you have any problems, or doubts reach me on Twitter, Instagram, dev.to and Hashnode.
Now go and execute sudo rm -rf / --no-preserve-root and make tux happy. Until next time...
